In Season: San Luis Obispo Chef’s dynamic cooking methods preserve and punch up flavor
Words and Recipes by Chef Rachel Ponce
Photography by Jennifer Olson

From selecting ingredients to preparing, cooking and drizzling sauces, the art of cooking is a dynamic experience from start to finish. Once a dance instructor myself, I have always been drawn to the drama and flare of the arts. In the kitchen, the different styles of cooking can create bravado on the plate and applause of the tastes on buds. Some dynamic techniques that help produce exciting meals include fermentation, curing and dehydration. Mastering these approaches will help make you a dinnertime dynamo.
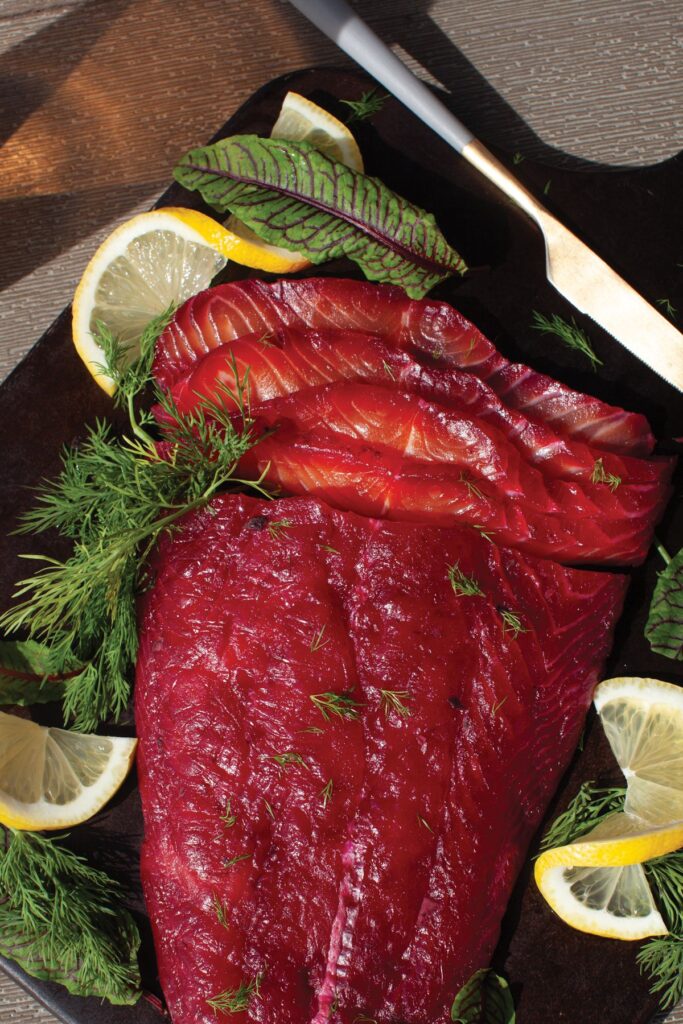
Savory Beef Strips

Dehydration: This technique involves removing the moisture from food to preserve it and concentrate flavors. It’s a healthy cooking practice that saves the nutrients in food, such as vitamins and minerals, while intensifying the flavors. This method can be used to prepare both meat and vegetarian strips.
INGREDIENTS
1 pound lean beef (flank steak or sirloin)
¼ cup soy sauce
2 tablespoons Worcestershire sauce
2 tablespoons maple syrup
1 teaspoon garlic powder
1 teaspoon onion powder
½ teaspoon black pepper
½ teaspoon smoked paprika
½ teaspoon chili powder
PREPARATION
Step 1
Trim any visible fat from beef before slicing into thin strips, about ¼-inch thick. Tip: Slightly frozen beef is easier to slice. In a bowl, whisk together all remaining ingredients. Place beef strips in shallow dish and pour marinade over top, ensuring beef is coated evenly. Let marinate in refrigerator overnight or for at least 2 hours.
Step 2
Preheat oven to 175 degrees F or lowest temperature possible. Line baking sheet with parchment paper or aluminum foil. Drain excess marinade from beef strips and pat dry with paper towels. Arrange beef strips in single layer on prepared baking sheet, preventing overlap. Place baking sheet in oven and leave door slightly ajar to allow moisture to escape, which helps with drying process. Bake for 3−4 hours, or until the beef has dehydrated but not turned brittle.
Step 3
After initial baking time, check beef every 30 minutes until desired texture is achieved. Total cook time may vary depending on thickness of beef strips. Remove beef from oven and let cool completely. It will continue to firm up as it cools. Store homemade beef strips in airtight container. Will save up to 2 weeks at room temperature or up to 1 month in refrigerator.
Savory Vegetarian Strips
INGREDIENTS
¼ cup soy sauce or tamari
2 tablespoons liquid smoke
2 tablespoons maple syrup
1 tablespoon apple cider vinegar
1 teaspoon smoked paprika
½ teaspoon garlic powder
½ teaspoon onion powder
¼ teaspoon black pepper
¼ teaspoon salt
2 cups textured vegetable protein
PREPARATION
Step 1
In large bowl, combine everything except vegetable protein. Mix well to create marinade. Add textured vegetable protein to marinade and stir until all pieces are well coated. Let marinate overnight or for at least 30 minutes.
Step 2
Preheat oven to 350 degrees F and line baking sheet with parchment paper. Remove textured vegetable protein from refrigerator and spread a single layer on the prepared baking sheet. Place baking sheet in oven and bake about 20−25 minutes, or until strips of jerky are dry and slightly crispy. Baking time may vary based on thickness of strips.
Step 3
Remove jerky from oven and let cool completely. As it cools, it will become even crispier. Store vegetarian jerky in airtight container at room temperature up to 1 week, or in refrigerator for longer shelf life.
*Experiment with different flavors and spices to customize the strips. Enjoy these as a snack, perfect for hiking, biking, road trips and beach days. This is also a great protein-packed addition to salads, sandwiches and wraps.
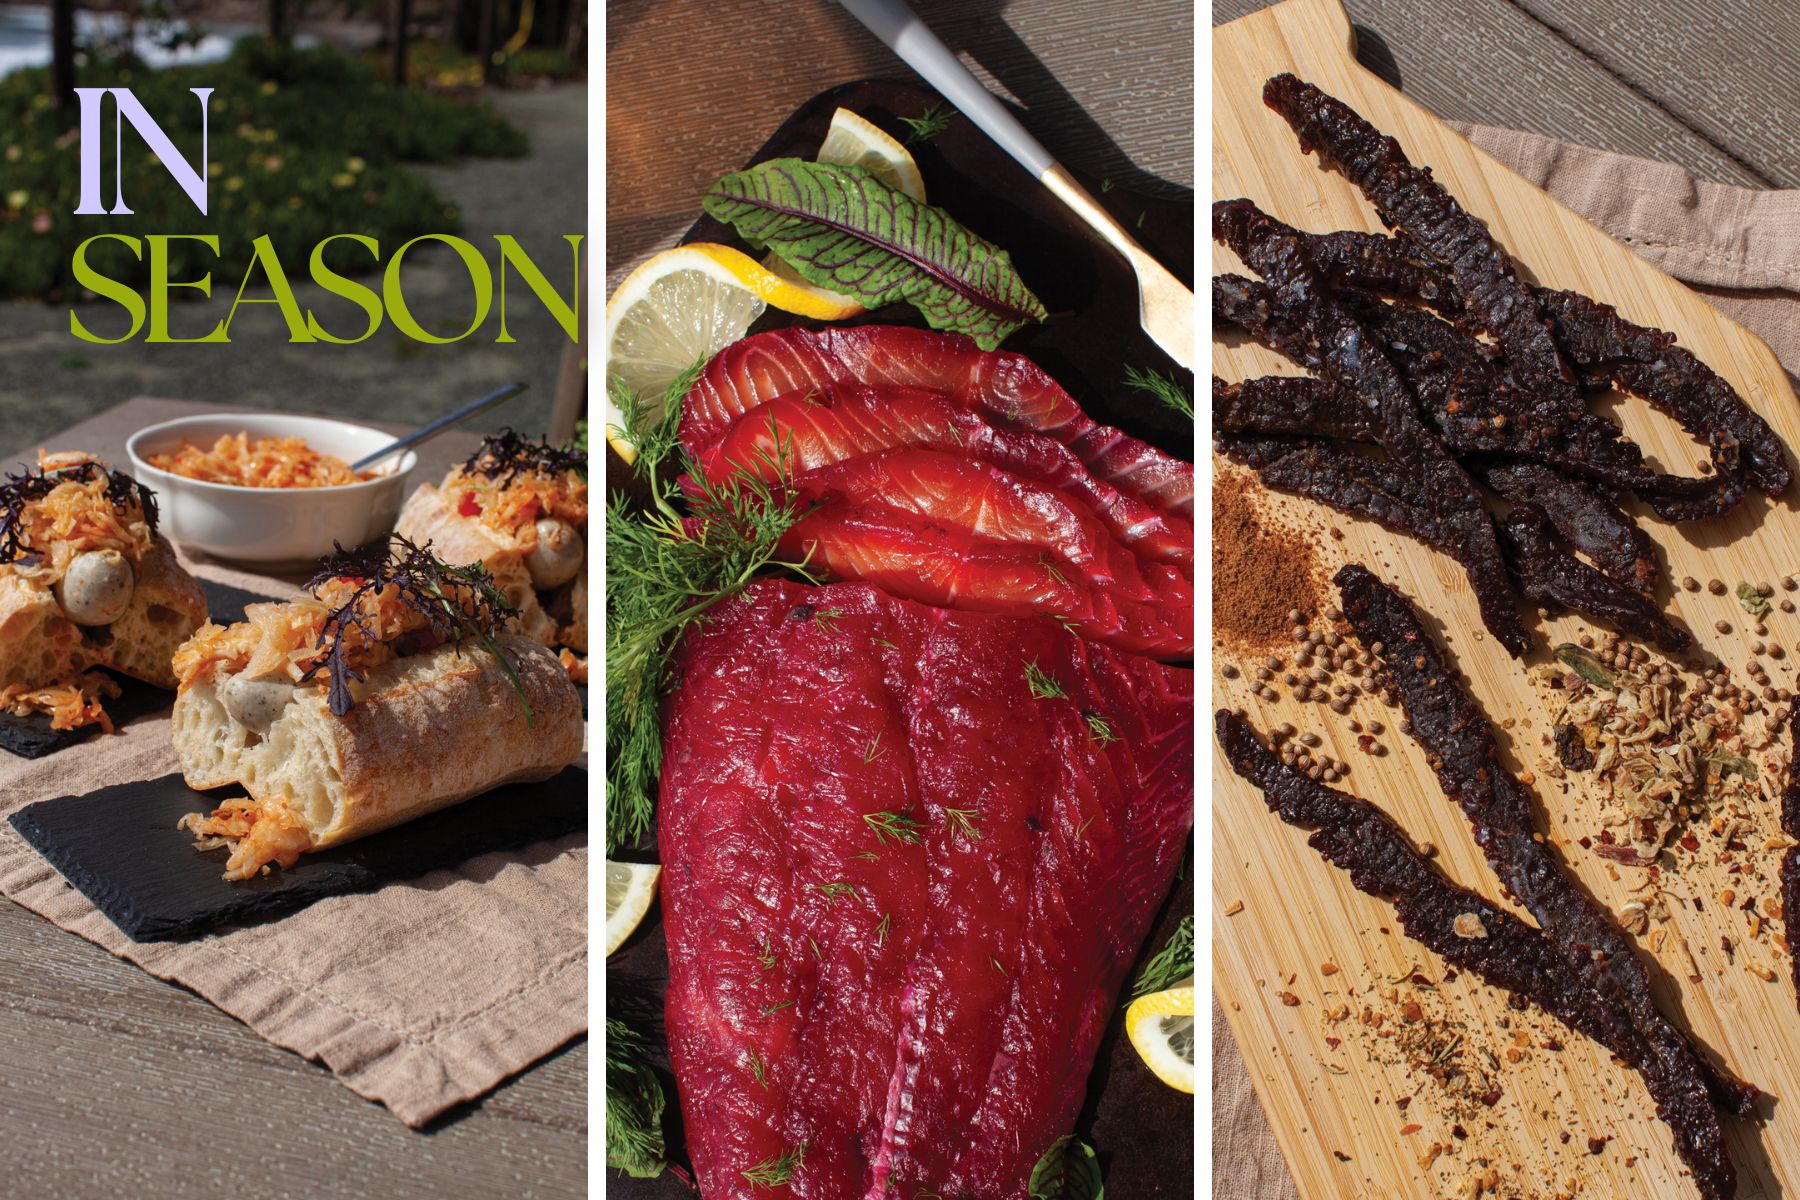
Indian Fusion Kraut

Fermenting: This practice involves using micro-organisms like bacteria or yeast to break down sugars in food, which results in a transformation of flavors and textures. It is commonly used in making yogurt, sauerkraut and kimchi. This Indian fusion kraut involves a delicious blend of spices and flavors, making it a unique and tasty accompaniment to any dish.
INGREDIENTS
1 head cabbage, thinly sliced
2 tablespoons mustard seeds
1 tablespoon cumin seeds
1 tablespoon coriander powder
1 tablespoon turmeric powder
1 tablespoon fresh ginger, grated
2 cloves garlic, minced
1 teaspoon salt
1 teaspoon sugar
1 tablespoon olive oil
PREPARATION
Step 1
In large bowl, combine all ingredients except olive oil. Mix well to ensure cabbage is evenly coated with spices. Let mixture sit for about 10 minutes to infuse flavors. Heat olive oil in large skillet or pan over medium heat. Add cabbage mixture to pan and sauté about 5−7 minutes, or until cabbage is slightly softened. Remove pan from heat and let mixture cool completely.
Step 2
Transfer cabbage mixture to clean, sterilized jar. Press down firmly on cabbage to release any trapped air pockets and ensure cabbage is submerged in its own liquid. Place a weight on top of cabbage to keep it submerged. Cover jar with clean cloth or fermentation lid to allow gas to escape while preventing contamination. Let sauerkraut ferment at room temperature for 7−10 days, tasting periodically until it reaches desired level of tanginess. Once fermented, transfer sauerkraut to sealed container and store in refrigerator. Will last for several months.
*Try it in sandwiches, added to a salad or served with fried fish or grilled chicken.
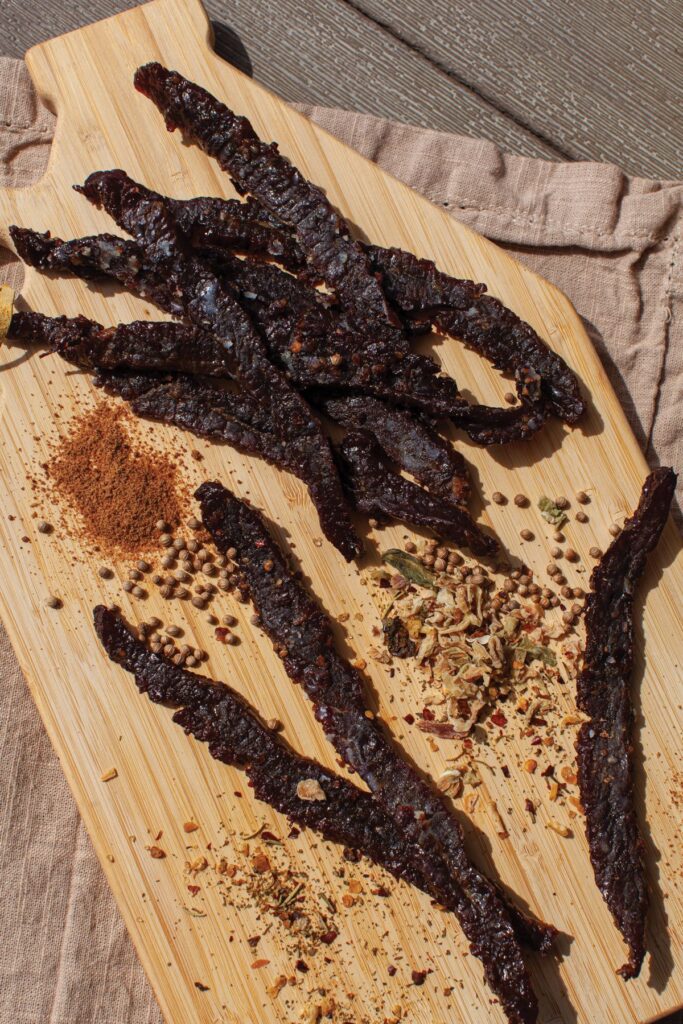
Beetroot Cured Salmon

Curing: This process involves preserving meat, fish or vegetables by adding salt, sugar or other preserving agents to inhibit the growth of bacteria and to extend the shelf life of food, also adding flavor and texture.
INGREDIENTS
2 medium-sized beets, peeled and grated
¼ cup coarse sea salt
¼ cup granulated sugar
1 tablespoon black peppercorn, crushed
Zest of 1 lemon
1 pound fresh salmon filets, skin on Fresh dill, for garnish
PREPARATION
Step 1
Combine in bowl grated beets, sea salt, sugar, crushed peppercorns and lemon zest. Mix well to create curing mixture. Place large piece of plastic wrap on clean surface. Spread half the curing mixture on plastic wrap, creating a bed for salmon.
Step 2
Lay salmon filets, skin side down, atop curing mixture. Make sure filets are evenly spaced and not touching each other. Completely cover top and sides of salmon with remaining curing mixture. Wrap salmon tightly with plastic wrap, ensuring there are no air pockets. Place wrapped salmon in large dish or baking sheet to catch any liquid that may seep out during curing. Place a weight like a heavy can or plate on top of wrapped salmon to help to press salmon and aid in curing process. Transfer dish to refrigerator and let salmon cure for 48 hours. Longer curing increases firmness and flavor.
Step 3
After curing time has passed, unwrap salmon and rinse off curing mixture under cold water. Pat salmon dry with paper towels. Slice salmon thinly against the grain, removing skin if desired. Garnish with fresh dill.
*Serve the beetroot cured salmon on a platter as part of a family style brunch with cream cheese, bagels, red onion and capers, or use it in various dishes like salads, sandwiches and sushi rolls.

